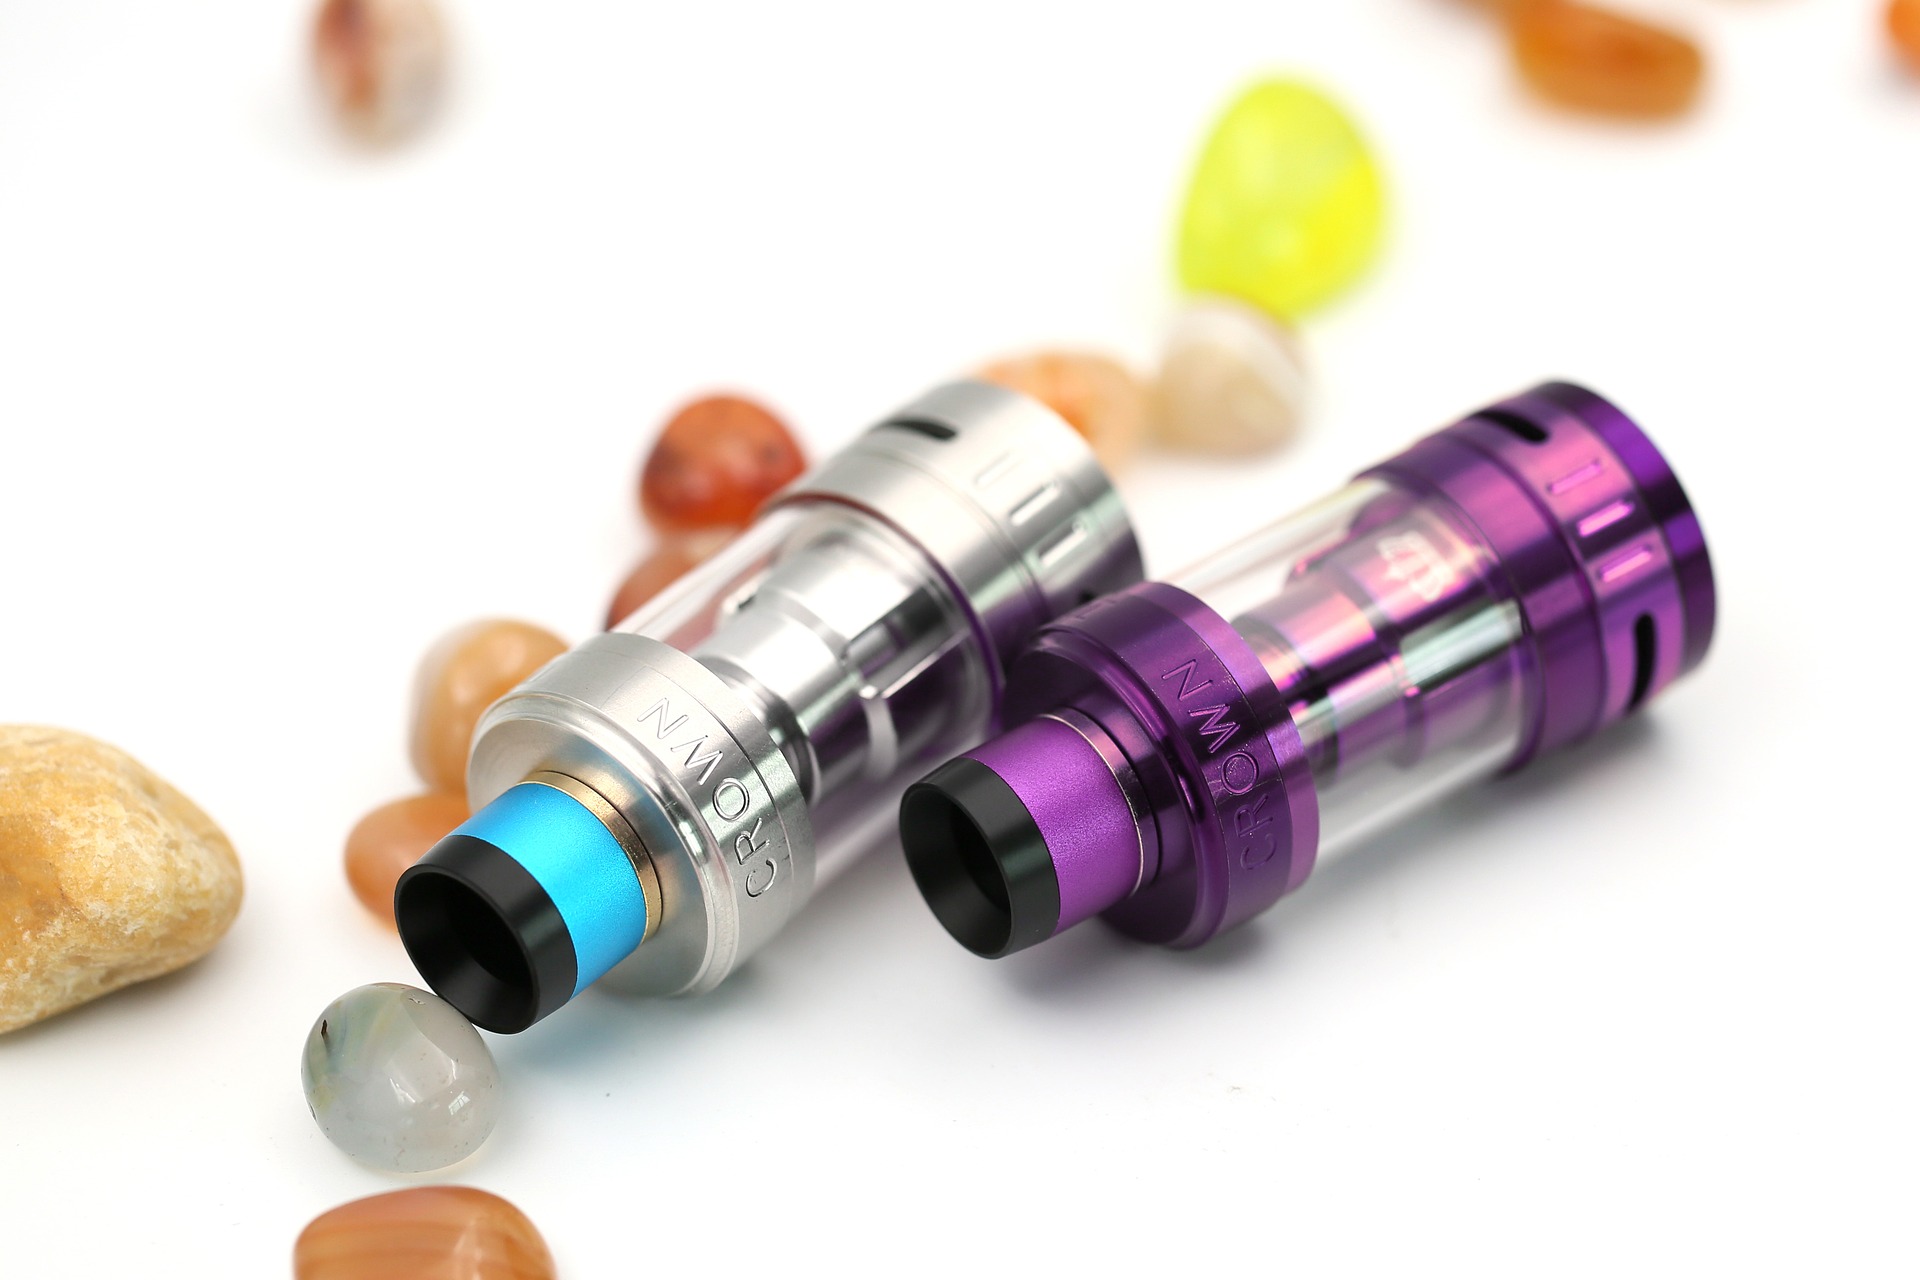
Proper vape device maintenance entails cleaning your vape tank regularly and thoroughly. Cleaning your vape device’s tank helps lengthen the device’s lifespan and save you money on frequent vape coils replacement or buying a new vaping device from CBD vape pen .
Second, a poorly maintained vape tank interferes with your vape juice flavor. It also limits the vapor quantity produced, therefore, delivering a dismal vaping experience.
As a novice vaper, you should know when your vape tank needs cleaning, the appropriate cleaning method, and the best bong cleaner. So, why don’t you check out everything you need to learn about cleaning your vape tank below?
Does Vape Juice Dirty Your Vape Tank?
All vape juice types contain additives that function as the base and flavoring for the eliquid. The main vape juice bases are propylene glycol and vegetable glycerin, while the flavoring additives depend on the craft master’s signature formula.
While the main vape juice compounds are in their pure form, the bases and additives leave residue traces on your vape tank with each use. Therefore, it is the residue buildup from vape juice additives that dirties your vape tank.
Signs Your Vape Tank is Dirty
A dirty vape tank hampers your vape device’s performance. A dirty vape tank hampers your vape device’s performance. Therefore, also lookout for the following performance-based indicators that your vape tank needs cleaning.
- When you experience a persistent nasty burnt taste
- When your favorite vape juice flavors don’t taste quite right or flavor ghosting, flavor ghosting occurs when the flavoring residue buildup in your vape tank lends its flavor profile to the fresh vape juice in the tank. Consequently, you get a hint of flavors past in the present; flavor ghosting is horrible, particularly when you taste hints of multiple non-complementary flavors.
- Reduced or poor vapor production, probably due to either poor wicking or residue buildup on the tank cap and vape coils limiting airflow.
Fortunately, such performance inconsistencies are also quite noticeable, so you should clean your vape tank as soon as you notice them. Cleaning also ensures that all the other vape tank elements work efficiently, therefore, significantly stretching your vape device’s shelf life.
Now that you know when to clean your vape tank, the next logical step is to learn how to clean it. Proper vape tank maintenance requires simple cleaning or a simple rinse and more thorough deep cleaning. To begin with, check out how to clean your vape tank with a simple rinse.

Top Methods for Cleaning Your Vape Tank
A Simple Rinse
A simple rinse with some warm water is the easiest way to show your vape tank some TLC. The recommendation is to give your vape tank a simple rinse at least once a week. Additionally, it would help to rinse the vape tank before refilling it or changing vape juice flavors, and changing the vape coils. Proceed as follows:
- Begin by assembling your cleaning tools, including a bowl of warm water, a tiny brush, paper towels, and dish soap. The dish soap helps eliminate lingering vape juice odors, although it is optional during a simple rinse.
- All vaporization gadgets consist of three crucial parts, a vape tank, vape coils, and a battery. Therefore, proceed by disengaging the vape tank from the battery and the vape coil to prevent water damage to the latter.
- Second, drain all the leftover vape juice from your vape tank and dispose of it safely.
- Third, disassemble the vape tank; if you do not know how to disengage and disassemble the vape tank, refer to the user manual. Also, the vape tank components are tiny but irreplaceable, so put them in a safe place, like a bowl.
- Submerge all the vape tank components in your bowl of warm water and leave them to soak for an hour or two. Pay attention to the water temperature, as hot water may cause damage to delicate vape tank parts.
- Afterward, come and clean the components gently with your brush; add only a drop or two of dish soap if you deem it necessary. Ensure that there are no gunk traces by the time you finish cleaning.
- If satisfied with the cleaning results, proceed by rinsing each vape tank component under running water. If you use dish soap, rinse thoroughly because its smell and chemical composition may taint your vape juice. Note that the components are tiny, so consider plugging your sink’s drain to avoid losing any components.
- Finish by drying each component gently but thoroughly with a paper towel and then leave the components to air-dry for approximately 15 minutes. Check to ensure there are zero traces of moisture or condensation on the components before reassembling the tank.
Deep Cleaning
Besides the simple rinse, the recommendation is to give your vape tank a thorough deep clean every month or so. Deep cleaning requires using anti-bacterial and anti-fungal cleaning agents to disinfect your vape tank. Popular vape tank deep cleaning agents include grain alcohol, unflavored vodka, baking soda, and vinegar.
The deep cleaning procedure begins similar to a simple rinse. However, when using grain alcohol or unflavored vodka, omit the “submerging components in the warm water step.” Instead, dampen a cloth or a paper towel with either cleaning agent and rub it on the elements until the latter is clean.
For baking soda and vinegar, put a tiny amount of either element in water before cleaning the components. If you deem soaking the elements necessary, soak them for a short period to avoid chemical reactivity.
In both cases, rinse the components thoroughly under running water to eliminate all cleaning agent smells and residue. Finally, dry the components as instructed above.


Conclusion
Regularly cleaning your vape tank guarantees you a fulfilling vape experience and will save you money in the long run. As a vaper, adopt the vape tank cleaning routines above and enjoy performance consistency.